I grew up loving cherries! Both of my grandmas had cherry trees in their gardens. I wouldn’t stop eating them, until eventually stomach pain would do the job.
Nothing’s changed and each year I can’t wait for the cherry season to begin. This year, I’m eating them fresh; I enjoy baking cherry pies and I make the healthiest cherry jam:
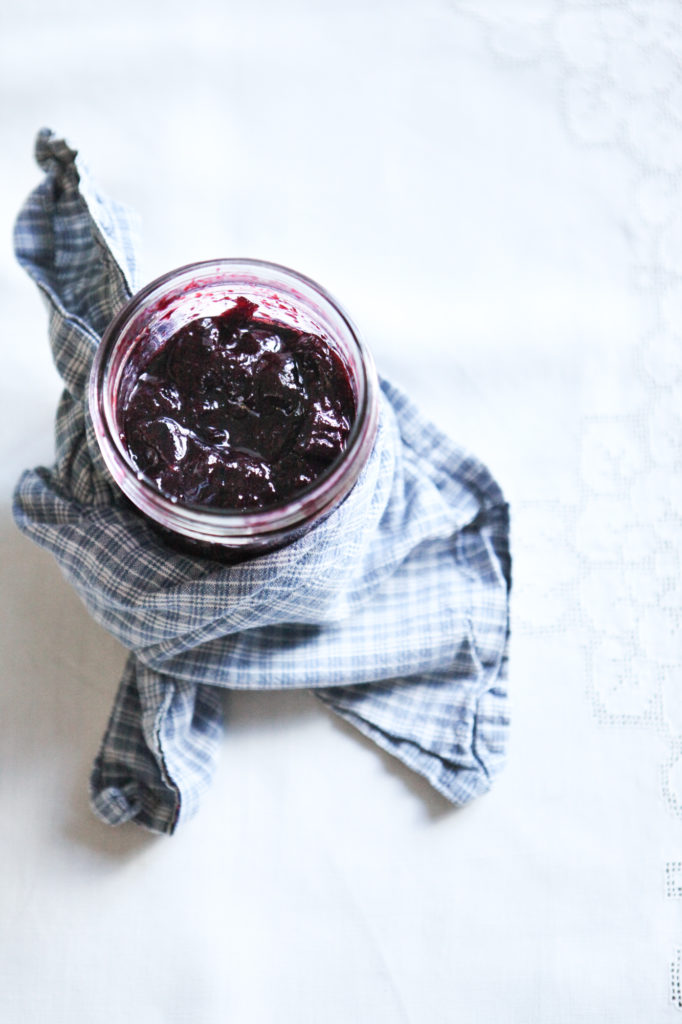
Yummy Cherry Jam (makes 1 medium size Mason jar, about 450g = 1 pint = 16oz):
2 cups of pitted cherries
3 tbsp honey
juice of 1 fresh lemon
First, let’s get messy; let’s pit our cherries.
If you don’t own a cherry pitter (which I don’t, well, who does?), this is how you’d do it:
I’ve tried this multiple ways and the fastest way has proved to be ‘the garlic way’.
Pit your cherries the way you’d unpeel and mash your garlic. Use a medium to large kitchen knife. Place the wide, un-sharp (flat) side of the knife over your cherry and lightly press with your palm at the top of the knife. The pit will come right out, easy!
Make sure not to squeeze as hard as for garlic, you don’t want your kitchen to look like a blood bath. I’d recommend wearing an apron and spreading some paper towels around you. This process might seem long, but two cups don’t take much time at all, I actually find it quite meditational.
Once you’ve pitted your cherries, place them with all the remaining ingredients into a non-stick pan and bring to the boil. Once it starts cooking, lower the heat and simmer for about 15 minutes. Now, use your potato masher to mash it all up while it’s still simmering for 10 more minutes. Then, place it all into a bowl and let it cool & thicken for an hour or so. Then place your jam into a medium size Mason jar, or any other airtight container. It will last in the fridge for a week. Happy summer jamming!


